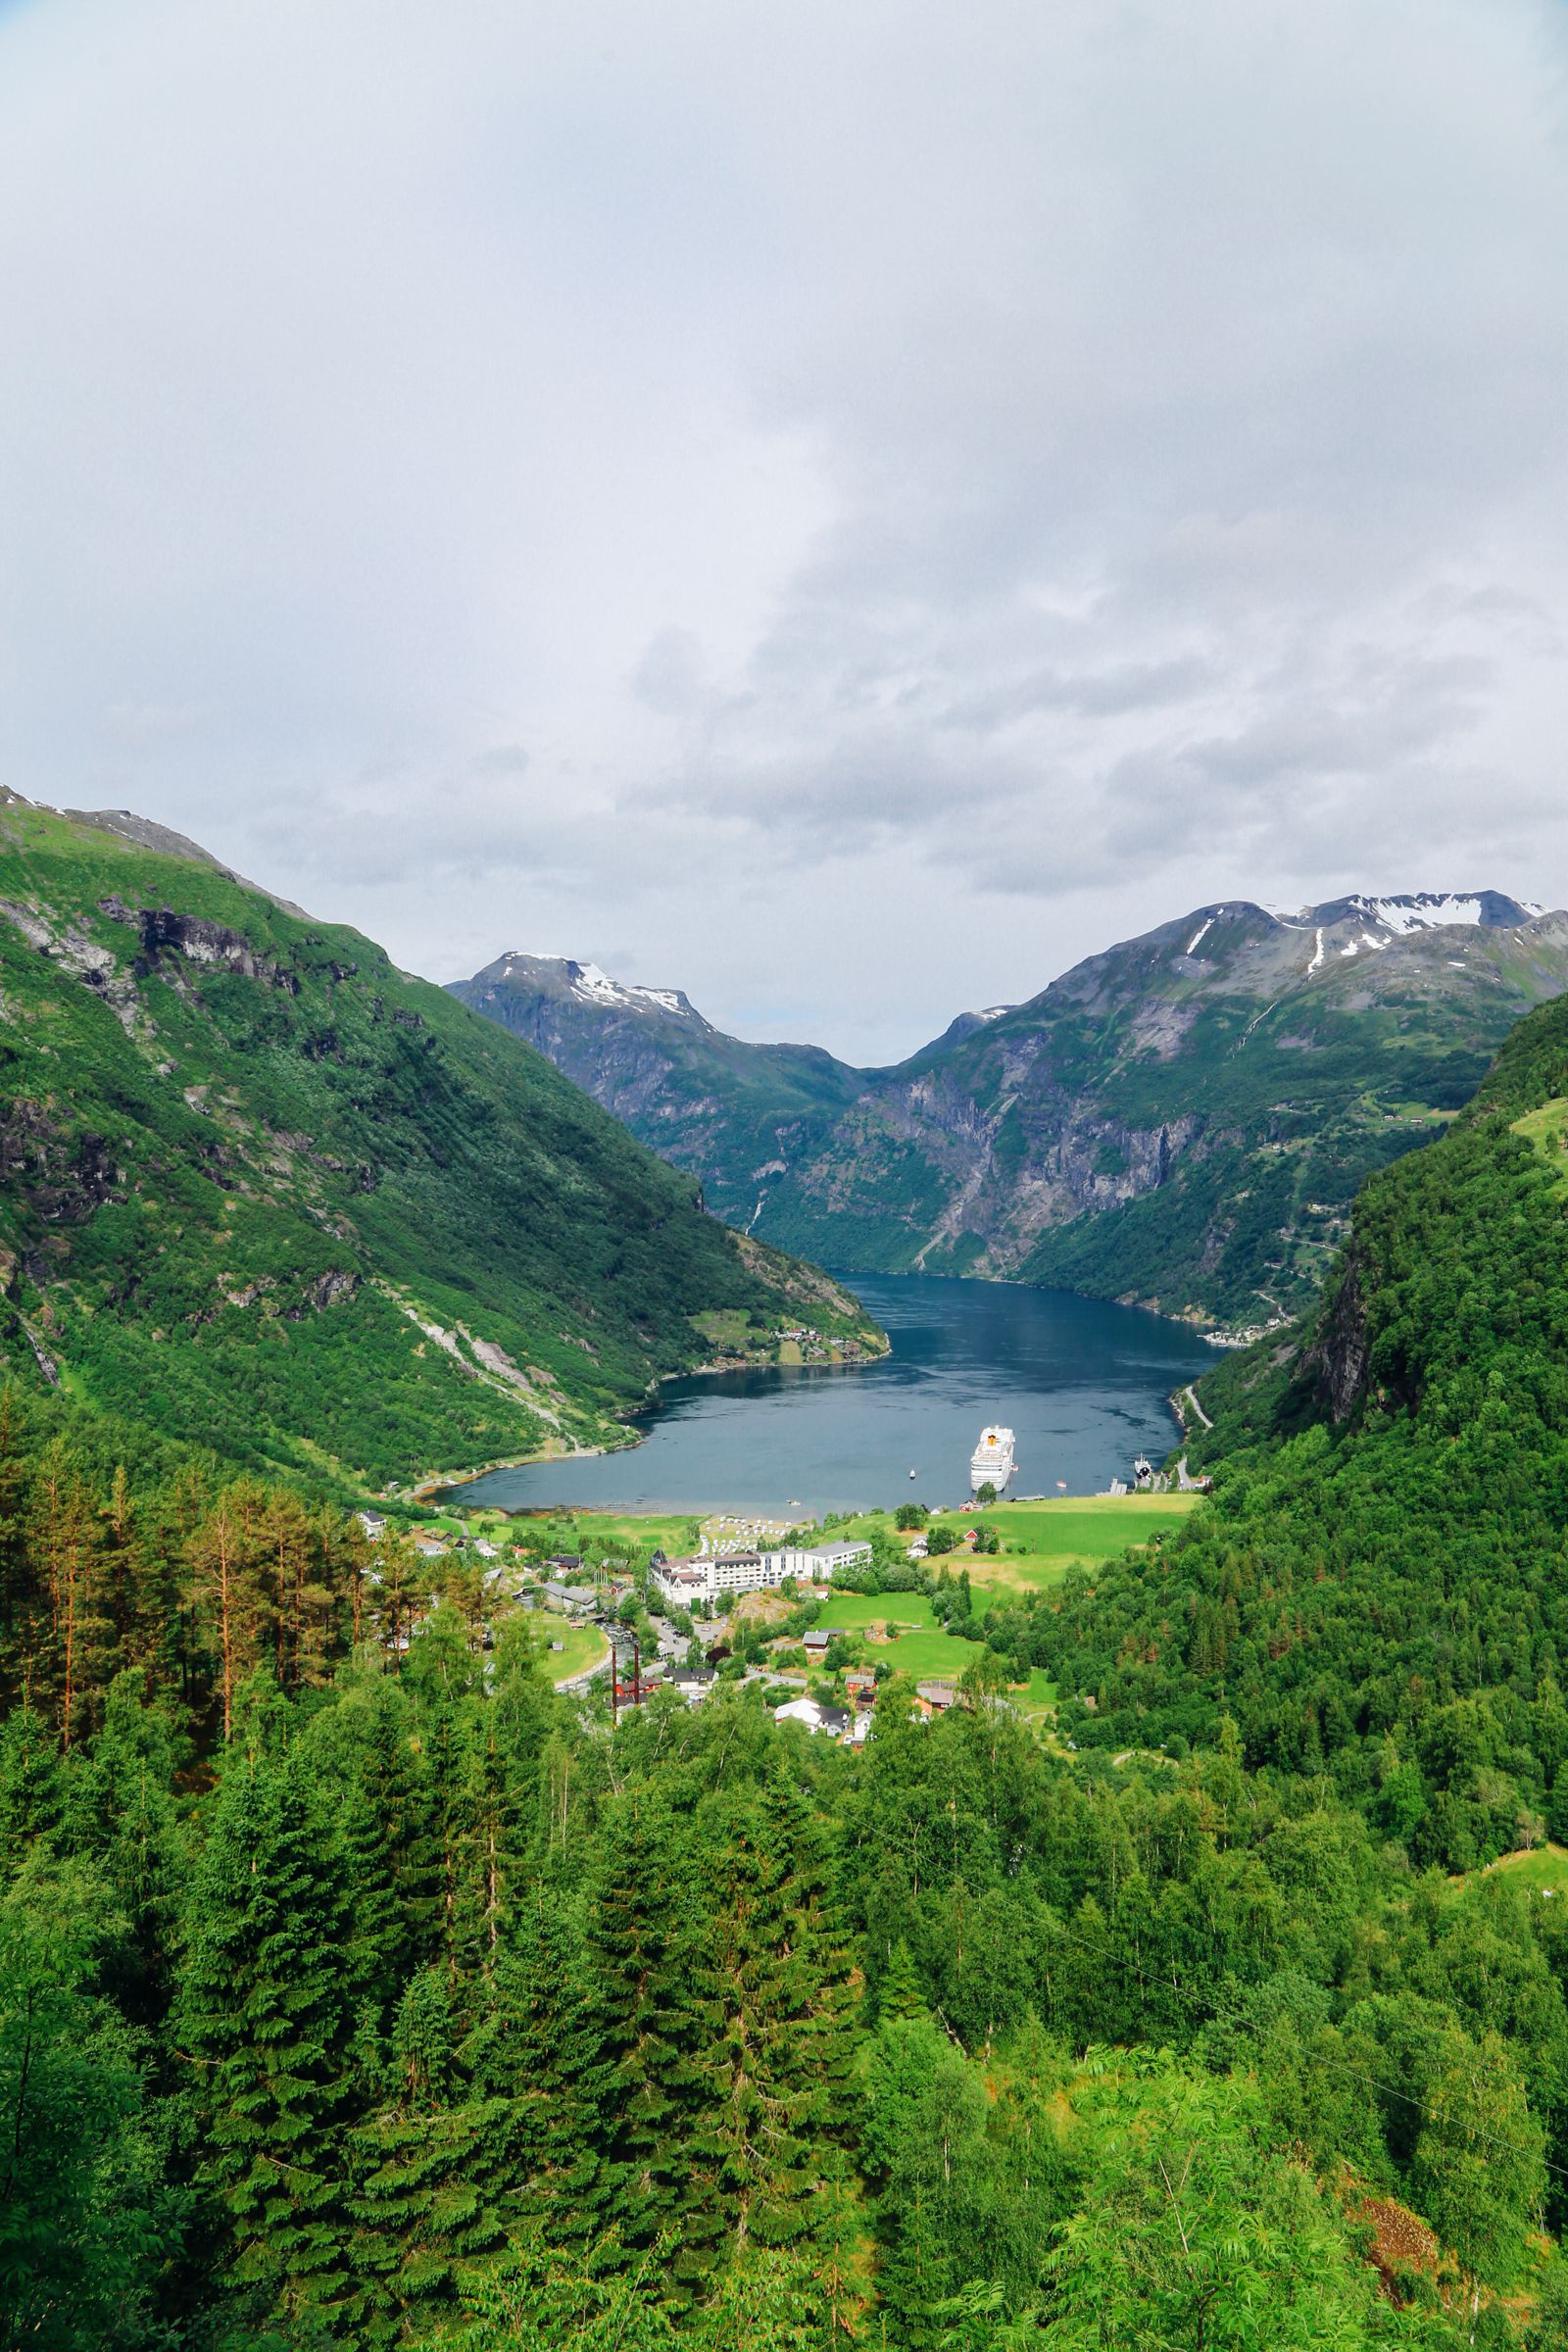
The concept of bad or good weather is quite relative but for most of us, the idea of bad weather is one when the skies are grey, dull and pouring with rain. Let’s be honest, sunshine has been shown to have mood enhancing properties with the opposite being true for grey days.
Then there’s the photography equipment you’ve got to think of! You’re almost guaranteed to ruin your iphone/DSLR/Compact camera if you attempt to use it in the pouring rain. In most cases, it’s not that you can’t use it, it’s more that you have to use it selectively (e.g. find a dry spot before taking photos) and this just add to hassle of photography in bad weather.
If you’re able to surmount all of these odds, the final result of taking these photos is then almost certain to act as a huge deterrent. Who wants photos of a city looking all dull and lacklustre when you can have one looking colourful and glorious in the sunshine? Well, hopefully, these tips will help you make the most of your photography regardless of the weather… Let’s get started!
1.) Look our for reflections. The rain brings the water (i.e. your natural photography mirror 😉 ) and grey days have surprisingly great light quality for photos with reflections.

2.) Lean into it. Seek out the grey clouds. Capture the rain. Soak in how dramatic it all is! Half the problems with taking photos in bad weather involves trying to make the photo look like good weather photography.

3.) Head indoors! Rain outside is definitely a legit reason for you to spend more exploring time in climate controlled environments like museums, galleries, or my personal favourite – restaurants.

4.) Play around with the ‘Clarity tool’ (or its equivalent) when you edit the photo to bring out the dramatic details.

5.) Check the weather. This is a bit of a pre-emptive one but do check the weather before you head out. Even if just for 5 – 10 seconds.
Also, get yourself some waterproof gear. The obvious one is a light raincoat (which you can chuck onto your regular clothes/coat without feeling like you’re sweltering underneath all those layers – UK example here – US example here) but, at the very least, do get one of those ‘airport liquids bags’ to put your phone, wallets and any other items that might get ruined in the rain into. These’ll also fit into your pockets or camera bag quite easily.

6.) Do NOT use your flash to compensate. It’ll just end up leaving the photo looking unnatural. The light quality when the weather in bad is actually quite good and fairly consistent due to the lack of the harsh glare from the sun.

7.) Fame as much as possible. With landscapes, try to get as much into the frame as possible. This can help capture the true scale of the bad weather and create a dramatic effect.

8.) Cool down the edit. When editing, also remember to lower the temperature setting. This is another way to make your photo look so much more dramatic. At this point, you probably realise that it’s the dramaticness of the bad weather we’re trying to aim for here. 🙂 😉

9.) Go crazy with Contrast, Shadows and Highlights when you edit the photos! This is another way to make the photo truly standout.

10.) Get out there and have an adventure. You’ll never know what amazing photos you could take in bad weather if you never try! Yes, it’ll be miserable and perhaps even bristling cold but immediately after doing number 3 (above), you should definitely get out and about,

YOUR TURN: What do you tend to do when the weather isn’t on your side?
Check Out The Very Best Of Great Britain!


