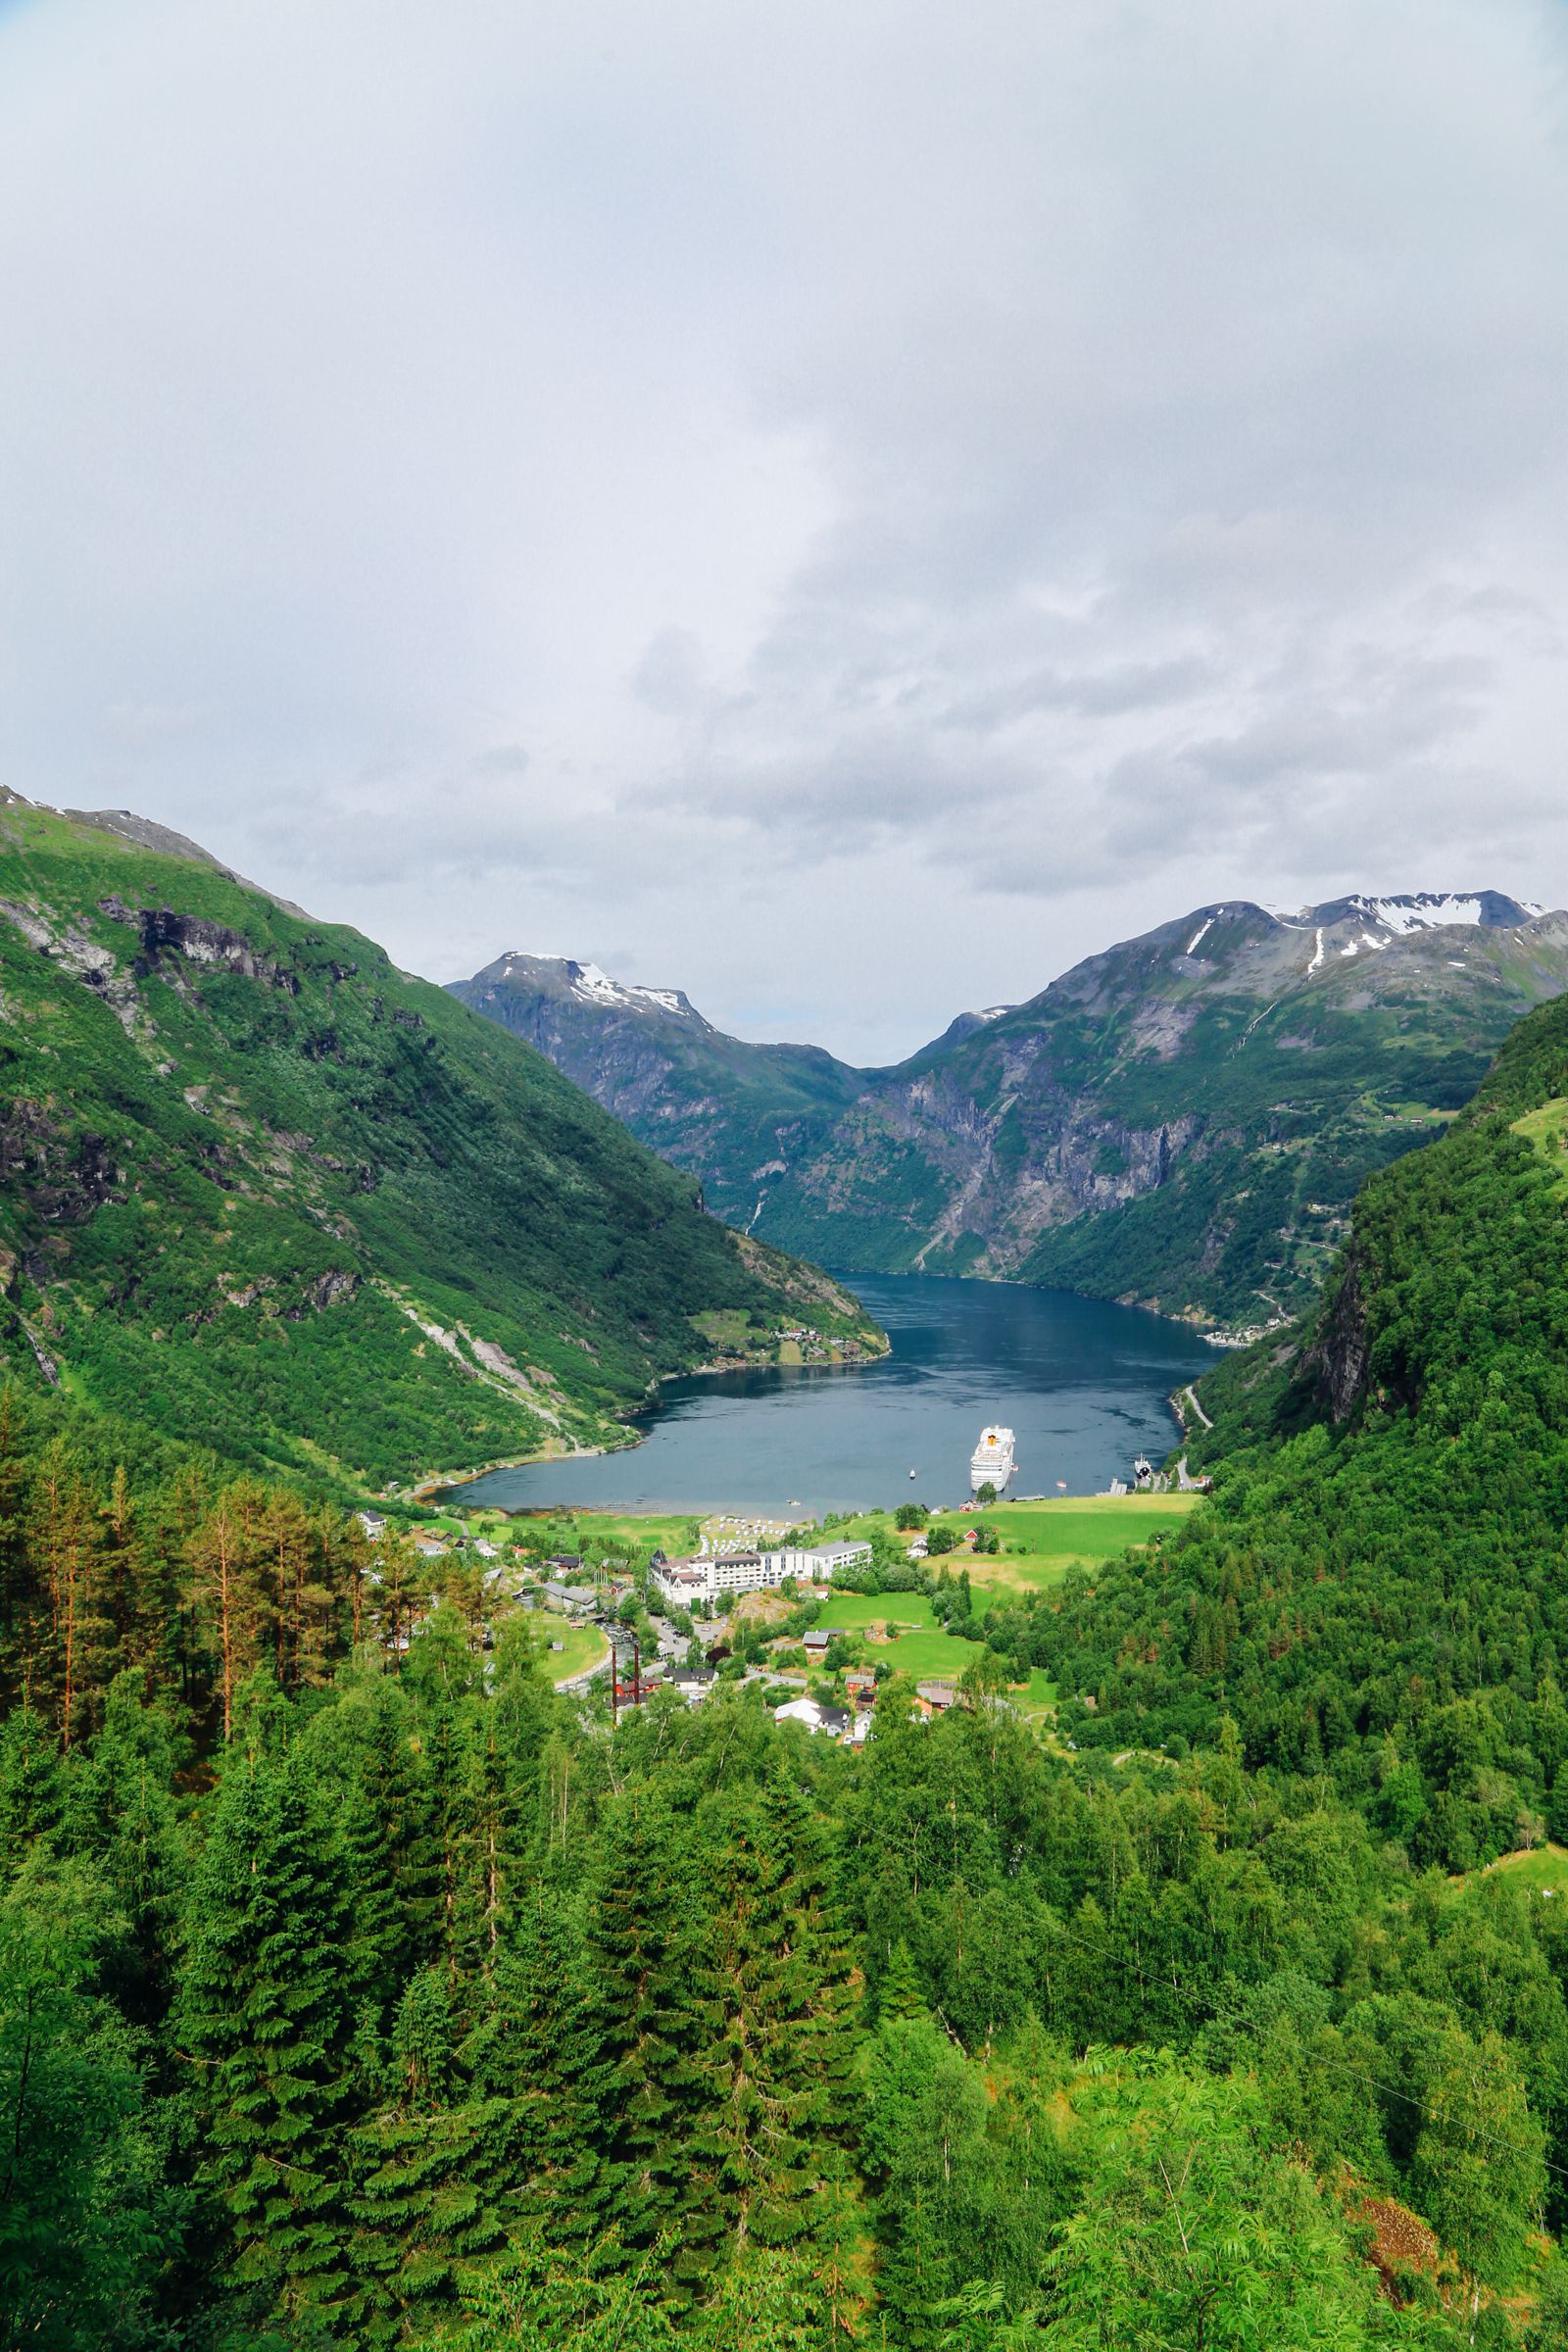
… because let’s face it, taking the photo is only half of the work. You still need to see it through and edit that photo to make it look exactly as you had in mind when you took it.
Cameras are great but they are no match for the human eye. They don’t capture colours and vibrancy the way human beings do hence the need to edit them. Here are 5 easy tools to help you make your photo even more striking.
Caveat: I have described these using Lightroom but the same concept is valid regardless of what photo editing tool you use.
Also, for each of these, I’ve created a “Before and After” slider to help you see the impact each tool has on the photograph.
1.) Increase Clarity
This tool helps draw out detailed features in your photographs and is perfect for not just for portrait photos (albeit slightly unforgiving), it’s also really great for dramatic rocky landscape photos, photos with lots of patterns and pretty much any photo you’d like to make sharper.
2.) Reduce Light/Exposure
Overexposure (i.e. bright photos) is almost always seen as being better than underexposure but in a lot of situations, this couldn’t be further from the truth. Reducing the light/brightness of a photo can help focus the photo more and draw out more details in the photo.
3.) Increase Grain
Adding grain to a photo is a great way to create a more rustic feel to a photo in a rather subtle way. It typically works best for brighter photos and is one of the more subjective tools available (I go back and forth on this one).
However, if you do find the right photo to use grain on, it can help create a somewhat timeless effect on your photo.
Oh, and it’s also perfect when the photo quality isn’t that great, to begin with, or if the photo is already quite noisy (i.e. grainy). This way, you can just lean into the natural grain you already have and make it look like it was planned all along. 😉 🙂
4.) Change Temperature
Making the temperature colder or warmer in a photo is a great way to make certain photos truly pop. Colder temperatures make whites whiter and blues bluer. Warmer temperatures tend to turn things a lot ‘oranger’ (perfect for sunset photos).
Either way, changing the temperature can help bring a photo more in line with the vision you have for that photo. (In the example below, I’ve gone for a colder temperature edit to make the water and swimsuit bluer).
5.) Reduce Saturation But Increase Vibrance
Sounds counter-intuitive but works a treat. Over-saturated photos almost without except look terrible and using vibrancy instead of saturation is a great way to make your photos more colourful without having it look like a 2-year-old went crazy with their crayons on your photos.
Check Out The Very Best Of Great Britain!


